

SOLVING HEADLESS DISPLAY CHALLENGES WITH ZORIN OS 17 AND GNOME REMOTE DESKTOP
In the world of Linux, Zorin OS stands out for its user-friendliness and Windows-like appearance, making it an attractive choice for those transitioning from Microsoft’s operating system. With the release of Zorin OS 17, users have access to a plethora of features and improvements, enhancing productivity and user experience. However, navigating the Linux ecosystem can sometimes present unique challenges, such as setting up a headless display environment. This article delves into overcoming these hurdles, particularly focusing on utilizing GNOME Remote Desktop in a headless setup on Zorin OS 17.
The Challenge: Headless Display with Zorin OS 17
A headless setup, where a computer runs without a physical monitor attached, is common in server environments and for remote desktop users. It’s efficient and cost-effective but can be tricky to configure, especially when it comes to managing display settings without a physical monitor. Zorin OS 17 users might find themselves in a bind trying to establish a virtual display for remote desktop purposes.
Enter GNOME Remote Desktop
GNOME Remote Desktop is a feature-rich tool that allows for seamless remote access to your Zorin OS desktop, leveraging the RDP (Remote Desktop Protocol) and VNC (Virtual Network Computing) protocols. It’s integrated into the GNOME desktop environment, offering a straightforward way to connect remotely to your desktop with minimal setup.
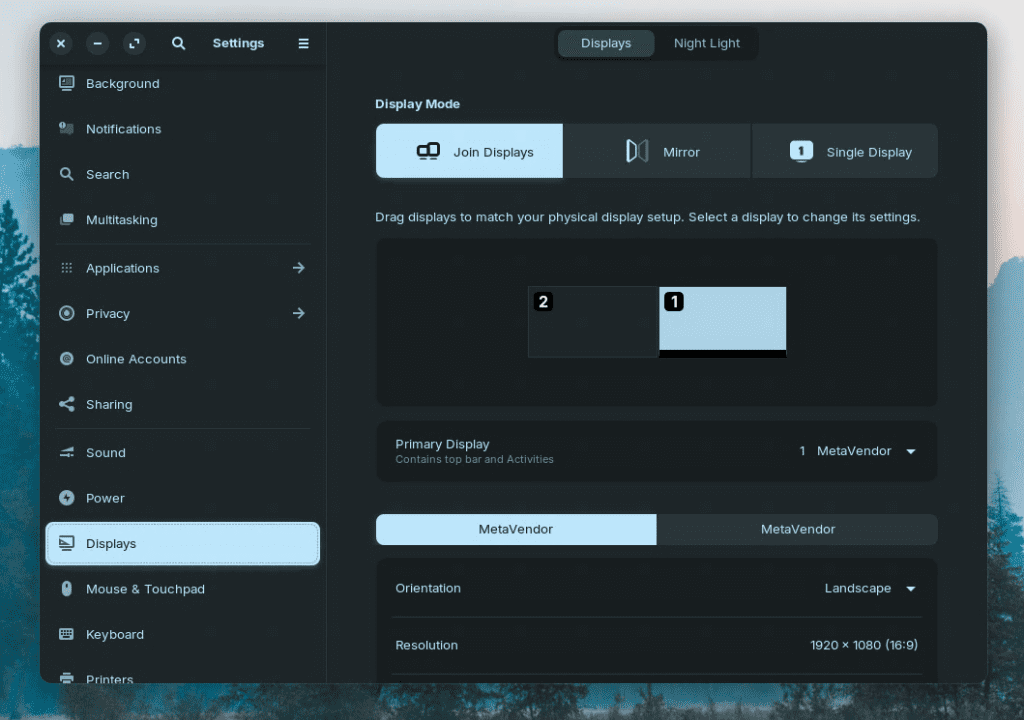
Setting Up a Virtual Display on Zorin OS 17
To address the headless display challenge, we turn to the GNOME Remote Desktop’s capability to create virtual monitors. This feature is a boon for users needing to extend their desktop environment without a physical monitor. Here’s how you can enable and configure this feature on Zorin OS 17:
- Enable Virtual Monitor Support
Open your terminal and execute the following command to set the screen sharing mode to ‘extend’, allowing for the creation of virtual displays:gsettings set org.gnome.desktop.remote-desktop.rdp screen-share-mode'extend'
This command configures GNOME Remote Desktop to prepare for a headless setup by enabling virtual display support. - Verify the Configuration
To ensure the changes have been applied successfully, you can check the current setting with:gsettings get org.gnome.desktop.remote-desktop.rdp screen-share-mode
If the output confirms'extend', you’re all set. - Connecting to Your Virtual Display
With the virtual monitor enabled, you can connect to your Zorin OS 17 machine using a remote desktop client. If you’re using an RDP client, specify the connection details, including the IP address and user credentials. Remember to enable dynamic resolution to adjust the virtual display size on the fly.
Conclusion
Setting up a headless display on Zorin OS 17, powered by GNOME Remote Desktop, opens up a new realm of possibilities for remote desktop users. Whether you’re managing servers or accessing your desktop environment from afar, the steps outlined above provide a robust solution to common headless display challenges.
Embracing the headless setup with Zorin OS 17 not only enhances your remote desktop experience but also showcases the versatility and power of Linux as a desktop and server operating system. Dive into the world of headless displays with confidence, knowing that Zorin OS and GNOME Remote Desktop have got you covered.
